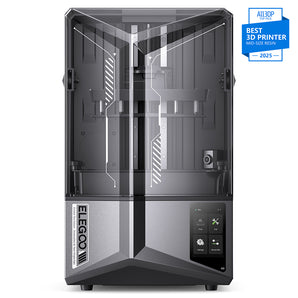
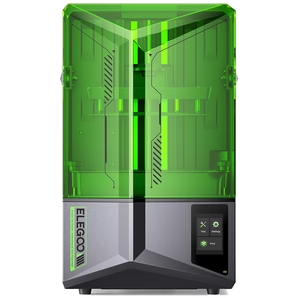
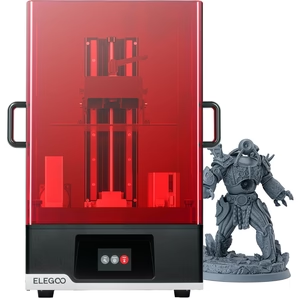
The Structure Diagram of the ELEGOO MARS PRO:

Tools you need: 2.0mm Hex Wrench, 2.5mm L-Type Long Wrench, 3.0mm L-Type Long Wrench, Gloves, New Liner Rail with Slider
STEPS
1) Unlock the screws with the Hex Wrench and take off the back shell of the printer.
2) Unlock the screws with the 2.5mm L-Type Long Wrench and take the apical plate off.
3) Unlock the screws and separate the Lead Screw from the Linear Rail.
Please pay attention to hold the Z-axis Connecting Shaft by hand when unscrewing to avoid the shaft from falling directly and damaging other parts of the printer.
4) Rotate the small clamp and take it off from the Lead Screw.
P.S. You can also raise the Z-axis Connecting Shaft to the highest position when the printer is powered on for the convenience of removing the clamp in this step.
5) Remove the screws that fix the Rail Fixing Plate. At the same time, hold the Rail Fixing Plate by hand in case of any damage tp the part..
6) Separate the Rail Fixing Plate from the Lead Screw. Be careful not to let the Z-axis Connecting Shaft off the Linear Rail.

7) Remove the screws that lock the Linear Rail.

8) Remove the screws that fix the Z-axis Connecting Shaft and the Slider.

9) Take out your New Liner Rail with Slider
a. The side with longer distance between the screw hole and the end of the rail is marked as "upper side".
b. The side with shorter distance between the screw hole and the end of the rail is marked as "lower side".

10) Re-install the Z-axis Connecting Shaft to the new slider and fasten the screws.
11) The "lower side" of the rail marked before corresponds to the side of the Rail Fixing Plate that has 4 screw holes. Align the hole position of the Linear Rail with the hole position of the Rail Fixing Plate then lock the screws.


12) Re-install the Rail Fixing Plate to the printer and fasten the screws. (Hold the plate with your hand for the convenience of locking the screws)
13) Re-install the small clamp onto the lead screw and rotate it to the position that we mark with a red line.

14) Connecting the small clamp back to the Z-axis Connecting Shaft and lock the screws.
15) Re-install the apical plate and lock the screws.
16) Re-install the back shell of the printer and lock the screws.
INSTRUCTIONAL VIDEO


