


 Centauri Carbon 2 Combo
 Centauri Carbon 2
 Centauri 2 Combo
 Centauri 2
 ELEGOO × emoji® Centauri Carbon 2 Combo
 Centauri Carbon 2 Combo: Desktop Creator Bundle
 OrangeStorm Giga
 OrangeStorm Giga Frequently Bought Together Bundle
 OrangeStorm Giga All-in-One Bundle
 OrangeStorm Giga + 2 × 5 kg Rapid PLA Plus
 Neptune 4 Max
 Neptune 4 Plus
 Neptune 4 Pro
 Neptune 4
 Mars 5 Ultra
 Mars 5
 Mars 4 Ultra
 Mars 4
 Saturn 4 Ultra 16K
 Saturn 4 Ultra
 Saturn 4
 Saturn 3 Ultra
 Jupiter 2
 Jupiter 2 with Mercury Plus V3.0 Bundle
 Jupiter 2 with Mercury XS Bundle
 Jupiter 2 Pro Bundle – Mercury Plus V3.0 & Resin
 Mercury Plus V3.0
 Mercury XS Bundle
 Mercury X Bundle
 Mercury Plus V2.0

 M1 Ultra
 Centauri Carbon 2 Combo + M1 Ultra
 Saturn 4 Ultra 16K + M1 Ultra
 Centauri Carbon 2 Combo + M1 Ultra + 4 kg Filament
 Saturn 4 Ultra 16K + M1 Ultra + 2 kg Resin
 PLA (RFID) emoji® Brand Edition Filament 10 kg
 PLA (RFID) Filament 10 kg
 PLA (RFID) Filament Grey 10 kg
 PLA Basic Filament 10 kg
 PLA Marble Filament 10 kg
 PLA Wood Filament 10 kg
 PETG Glitter
 PPS-CF
 PLA CMYK
 PLA Translucent
 PETG HF
 PLA (RFID) emoji® Brand Edition
 PLA
 PLA Basic Refill
 PLA Plus
 PLA Pro
 Rapid PLA Plus
 3 kg Filament Spool
 Rapid PLA Plus 5 kg Spool
 Mini 250 g Filament Bundle
 PLA Filament 5 kg
 PLA Plus Filament 5 kg
 RAPID PLA Plus Filament 5 kg
 PLA Matte
 PLA Silk
 PLA Galaxy
 PLA Sparkle
 PLA Metallic
 PLA Marble
 PLA Wood
 PLA Glow
 PLA CMYK Filament 10 kg
 PLA Matte Filament 10 kg
 PLA-CF
 PLA-CF Filament 10 kg
 Rapid PETG
 PETG Translucent
 PETG Pro
 PETG-GF
 PETG-CF
 Rapid PETG Filament 10 kg
 PETG HF Filament 10 kg
 PETG Glitter Filament 10 kg
 TPU 95A
 Rapid TPU 95A
 TPU 72D
 PC
 PC-FR
 TPU 95A Filament 10 kg
 Rapid TPU 95A Filament 10 kg
 TPU 72D Filament 10 kg
 PC Filament 10 kg
 PC-FR Filament 10 kg
 ASA
 ASA-CF
 ABS
 ASA Filament 10 kg
 ABS Filament 10 kg
 ASA-CF Filament 10 kg
 PET-CF
 PAHT-CF
 PETG-CF Filament 10 kg
 PETG-GF Filament 10 kg
 PET-CF Filament 10 kg
 H1 HT
 Filament Vacuum Storage Bags Kit (20 Pcs)
 Fast UV Cure Putty
 3D Paint Kit
 PEI Liquid Glue Pack (2 Pcs)
 3D Printer Tool Kit
 Electric Screwdriver Set
 Reusable Spool

 Rapid Standard Resin 12 kg
 8K Standard Resin 12 kg
 Standard Resin V2.0 12 kg
 Standard Resin 12 kg
 ABS-Like Ultra Resin 12 kg
 8K ABS-Like Resin V3.0 12 kg
 8K Water-Washable ABS-Like Resin
 8K Water-Washable Resin V2.0
 Tough Resin
 Water-Washable ABS-Like Resin
 ABS-Like Ultra Resin
 8K Standard Resin
 Rapid Standard Resin
 Standard Resin V2.0
 Standard Resin
 Water-Washable Resin V2.0
 8K Water-Washable Resin
 Water-Washable Resin
 8K Water-Washable ABS-Like Resin 12 kg
 Water-Washable ABS-Like Resin 12 kg
 8K Water-Washable Resin V2.0 12 kg
 Water-Washable Resin V2.0 12 kg
 8K Water-Washable Resin 12 kg
 Water-Washable Resin 12 kg
 8K ABS-Like Resin V3.0
 ABS-Like Resin V3.0 Pro
 ABS-Like Resin V3.0+
 ABS-Like Resin V3.0
 ABS-Like Resin V2.0
 ABS-Like Resin
 Plant-Based Resin
 Standard Plant-Based Resin
 Plant-Based Resin 12 kg
 Tough Resin 12 kg

 CANVAS for Centauri Carbon 2/Centauri 2 Series
 CANVAS for Centauri Carbon
 Marsmate Air Purifier
 Mini Air Purifier 2 Pcs
 USB Air Purifier 2 Pcs
 Activated Carbon Filter for Marsmate
 Mini Heater
 3D Stainless Steel Funnel
 Silicone Mat (2 Pcs)
 For Centauri Series
 For OrangeStorm Giga
 For Neptune 4 Series
 For Neptune 3 Series
 For Mars Series
 For Saturn Series
 For Jupiter Series
 LCD Screen
 Build Plate
 ACF/FEP/PFA
 Resin Tank
 Washing Bucket for Mercury X/XS Bundle
 Washing Bucket for Mercury Plus V2.0
 Honeycomb Panel for Phecda
 Risers for Phecda (8 Pcs)
 Reflective Markers for M1 Ultra
 Reflective Markers for M1 Ultra (Φ3mm×800pcs)






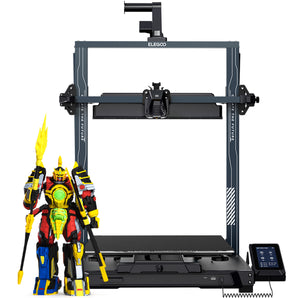

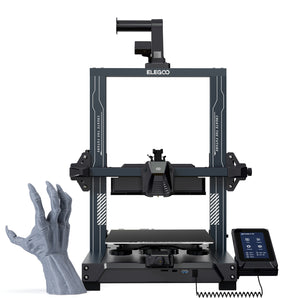



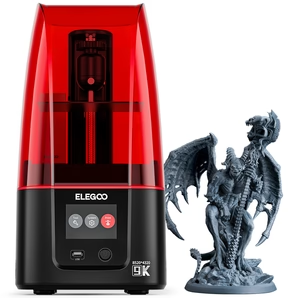

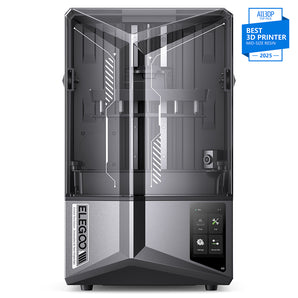
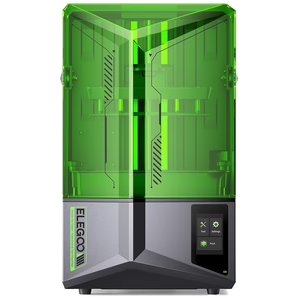




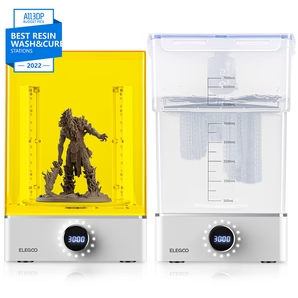



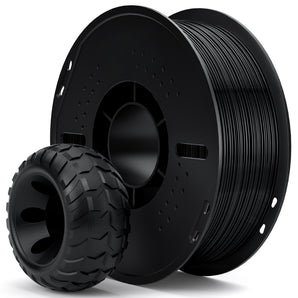


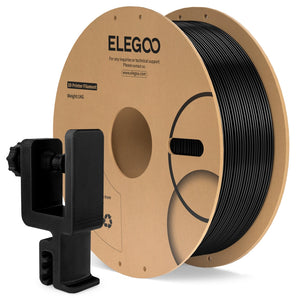

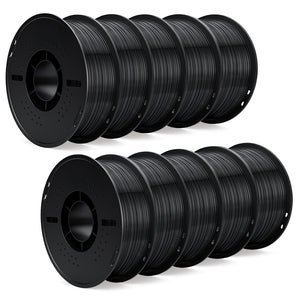


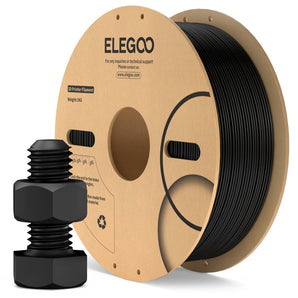


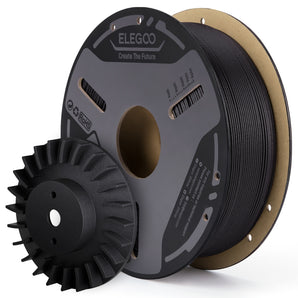





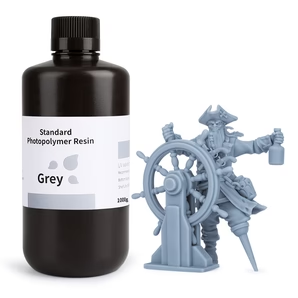





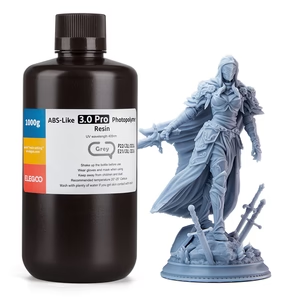


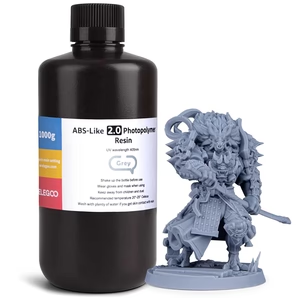


















A 3D printer builds the cross-sections of a digital model one after another until they form a solid object. Picture a shallow tray for the screws you take out while fixing something. Near the bottom, a horizontal slice through the tray is a filled rectangle. Above the floor, the same slice looks like a rectangular ring. Stack those shapes in order and you get a tray with an open top.
Software called a slicer works out those layers for the 3D printer. How the machine forms each layer depends on the process. A filament printer draws lines of softened plastic. An LCD resin printer uses a pattern of light to harden the shape of a layer.
Table of contents
1. Start with the shape you want to print
You can design the tray in CAD, download an existing design, or use a 3D scan as a starting point. For a simple rectangular tray, drawing it to the dimensions you want is usually easier than scanning a real one. What matters is that the file describes a three-dimensional shape, including the recess that holds the screws.
Open the model in a slicer compatible with your printer. Check the dimensions before you go further. If a tray meant to be palm-sized looks as small as a postage stamp on the virtual build plate, correct its scale now. Rotate the model, too. From above, a solid block and an open tray can have the same outline. Looking inside makes it easier to spot a missing recess.
2. Slice the model and preview a few layers
Choose the profile for your printer and material, then place the model on the virtual build plate. For this filament example, set the tray flat with the opening facing up. Slice it and move through the preview one layer at a time. At the bottom you should see paths covering the floor. Farther up you should see just the walls. If the preview fills the recess all the way to the rim, check the model before starting the print.
The model describes the object. The sliced file describes how a particular machine will make it. An STL can describe the tray’s surface, for example. A filament slicer commonly outputs G-code with motion and extrusion instructions. A resin printer may use a file containing layer images and exposure settings instead. ELEGOO’s Mars 4 is one example that supports the GOO format. When you switch machines, go back to the model and slice it with the right profile.
3. Prepare the printer and material
On a filament machine, the spool feeds the extruder, which drives the filament toward the heated nozzle. Check that the selected material matches the spool and that the build plate is seated and prepared according to the printer’s instructions. A stable first layer gives the walls above it a base to build on. If the first lines pull loose, use the printer calibration guide before committing to the whole tray.

For LCD resin printing, the machine uses a vat of liquid photopolymer and a build plate. Choose a compatible resin and its recommended profile. Set up the handling and cleanup area before opening the bottle, following the resin’s safety data sheet and the machine manual.
4. Watch how a layer takes shape
On a filament printer, follow the nozzle
An FDM 3D printer pushes heated plastic through a nozzle in narrow beads. For a floor layer of our tray, the nozzle traces the perimeter and lays adjacent lines across the base. Each new bead bonds to the material beside or beneath it as it cools. Once the floor is complete, the nozzle follows the narrower wall paths and leaves the middle open. The machine changes the height between the nozzle and the part for the next layer.
On an LCD resin printer, follow the light
An LCD 3D printer forms a layer by exposing selected areas of liquid resin at the same time. On a typical bottom-up machine, the build plate starts close to the transparent vat film, leaving a thin gap for resin. A light source sits beneath the vat. The LCD acts as a mask, allowing light through in the pattern specified for that layer. Resin in the exposed areas hardens, attaching to the build plate on the first exposure and to the growing print on later ones. The cured layer separates from the vat film, fresh resin flows into the gap, and the next exposure begins.
The tray still needs a floor, walls, and an empty recess. What changes is how it should be oriented and supported for the machine you’re using. An FDM file laid flat for filament printing won’t tell a resin printer where to expose a layer or how to support the part.
What about powder printers?
On a polymer SLS system, a fresh layer of powder is spread across the bed and a laser fuses the selected cross-section. Loose powder around the part supports it during the build. That’s a third way to make a layer from a digital shape. For materials and examples of where each process fits, see our introduction to 3D printing.
5. Remove the print and check the result
For the filament tray, let the plate and part cool as directed, then remove the tray using the procedure for that build surface. Take off any temporary supports. Put the tray on a flat surface, check whether the corners rock, and try it in the space you designed it for. Those checks tell you more about the next revision than the print-complete message does.
A resin print usually comes off the machine with uncured resin on its surface. Follow the resin maker’s cleaning, drying, and post-curing directions, including the specified wash medium and cure settings. Support-removal timing also depends on the material and geometry. For a visual example, ELEGOO’s first resin print tutorial moves into part processing at about 3:25.
Questions that come up when you see a print in progress
Why can I see lines on a curved surface?
A curve gets approximated by a series of thin steps. Those steps are easiest to see where a surface slopes gently. A smaller layer height can reduce that staircase effect, but it adds layers to the job. Check your slicer’s preview and time estimate for the part and profile you plan to use.
What’s the difference between infill and supports?
In a filament print, infill is a pattern inside the part, between its outer walls. It stays there after printing. Supports hold up features while they’re being made and are generally removed afterward. The empty space for screws in our tray is part of the design. Increasing infill changes the material inside the tray’s solid sections, not the space where the screws go.
How long will it take to print?
For the filament tray, start with the estimate after slicing it with your printer and material profile. A tray that is 15 mm tall at a uniform 0.2 mm layer height has 75 layers. The solid floor and the open wall layers contain different amounts of printing, so the slicer calculates time from the paths and speeds in each layer. Increasing the tray’s width, adding supports, or changing the profile can change the total even when the layer count stays the same.
For an LCD resin example, suppose the sliced model, including its supports, is 30 mm tall at a 0.05 mm layer height. That makes 600 layers. If a complete layer cycle averages 10 seconds, including exposure, separation, and pauses, the layer cycles total about 100 minutes (1 hour 40 minutes). This is a worked estimate using an assumed cycle time. Use your machine’s actual settings and allow for longer bottom-layer cycles. Several models that fit on the plate at the same height can share each layer’s exposure, so doubling their number may add little printing time. Budget separately for setup, washing, drying, and curing.


